


Nerdy Pumpkin Carving Templates
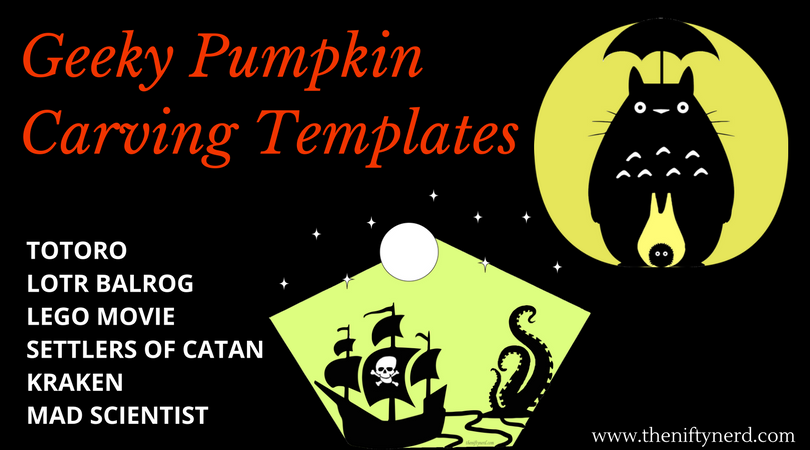
Halloween is less than one week away! There’s still time to let your nerd flag fly though by carving up some geeky Halloween pumpkins to grace your porch. Today I have six nerdy pumpkin carving templates to share with you guys that I’ve put together. I hope you enjoy them!
Instructions:
- Choose your nerdy pumpkin stencil and print it out.
- Transfer the stencil to your pumpkin. -Cut out the various pieces (for less detailed images) and trace them (with a dry erase or washable marker) OR tape the pattern to your pumpkin and use a pushpin thumb-tac to trace the outline (you’ll wind up with a ‘connect-the-dot’ pattern on your pumpkin as a guide).
- Follow the pumpkin carving guide to bring your masterpiece to life.
Pumpkin carving guide:
Black = untouched pumpkin areas
Yellow = cut all the way through the pumpkin wall and remove
White = make a partial surface cut and remove top layer of rind flesh (do not cut all the way through the pumpkin wall) to create a glowing effect

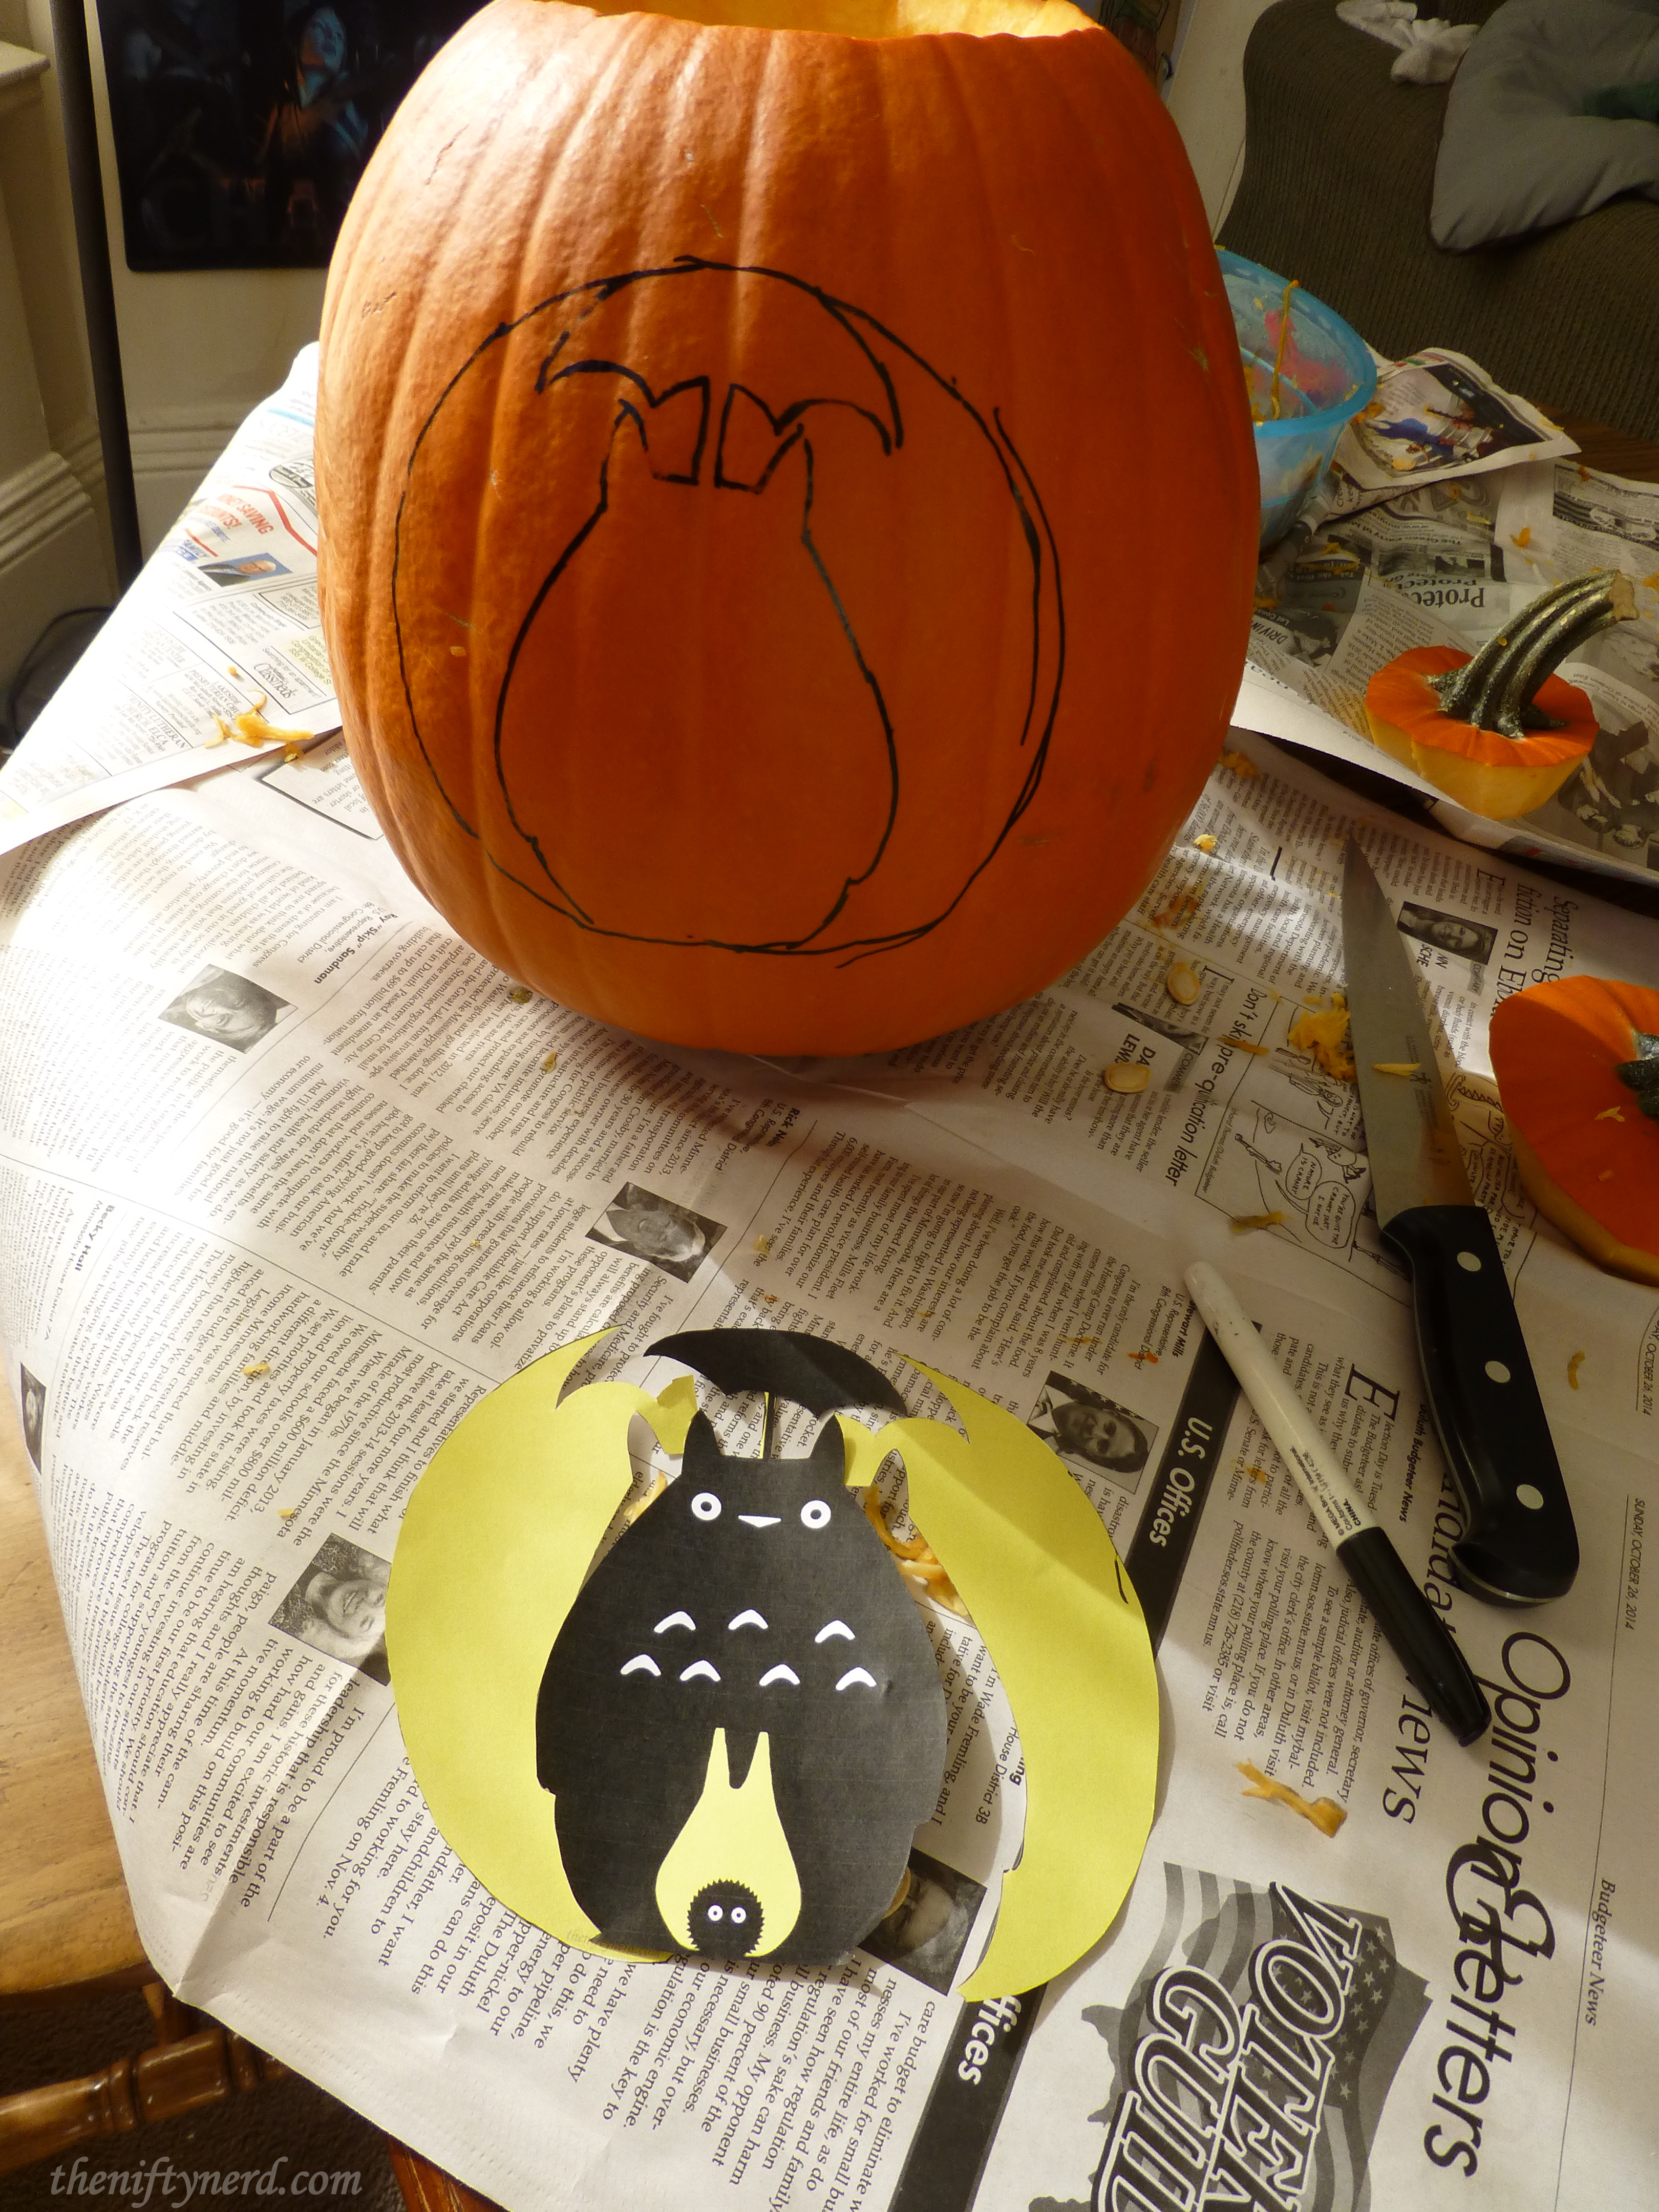
Nerdy Pumpkin Carving Stencils:

The Files-
Open the PDFs in a separate browser tab for easy printing.
Open the PDFs in a separate browser tab for easy printing.
Totoro & Friends
Mad Molecular Scientist
Settlers of Catan
Lego Movie
Shadow & Flame
(completely cut out all black areas)
(completely cut out all black areas)
Lurker in the Water
Pumpkin Carving Tips & Tricks:
- When picking a pumpkin out, look for one with a nice green stem (not a dried up brown one). This indicates a fresher pumpkin. Also, the thicker the stem, the thicker the pumpkin’s wall tends to be (i.e. lots of carving depth!).
- Have an idea of what you’d like to carve when choosing a pumpkin. This can help you choose a shape and size that’s most appropriate -it doesn’t have to be perfectly round!. Avoid pumpkins with black or soft spots; they indicate decomposition.
- Thoroughly clean out the innards of your pumpkin. Leaving any guts inside will lead to quicker rot.
- Don’t be afraid to try different tools for carving and cutting. Various knives and saws can be better for different shapes, carving depths, and carving area sizes. Try metal bbq kabob skewers, clay carving utensils, or an x-acto knife to switch things up.
- Use an LED tea light, rather than a candle, to light your creation up. The heat from the candle can lead to rot sooner; preserve the life of your pumpkin.
- Avoid cutting the top stem off your pumpkin. The stem continues to feed the gourd with nutrients after being picked. Cutting off the lifeline will decrease the longevity of your pumpkin. Instead, cut a hole in the back of your pumpkin to clean it out. (yes, I know, I didn’t follow this one, but I needed both sides of my pumpkin for illustration purposes 😉 ).
- Always exercise caution when working with sharp tools. Never cut towards yourself.
- Most importantly, just have fun!
How’d your pumpkin turn out?! Share a photo of it with me on Facebook or Twitter!
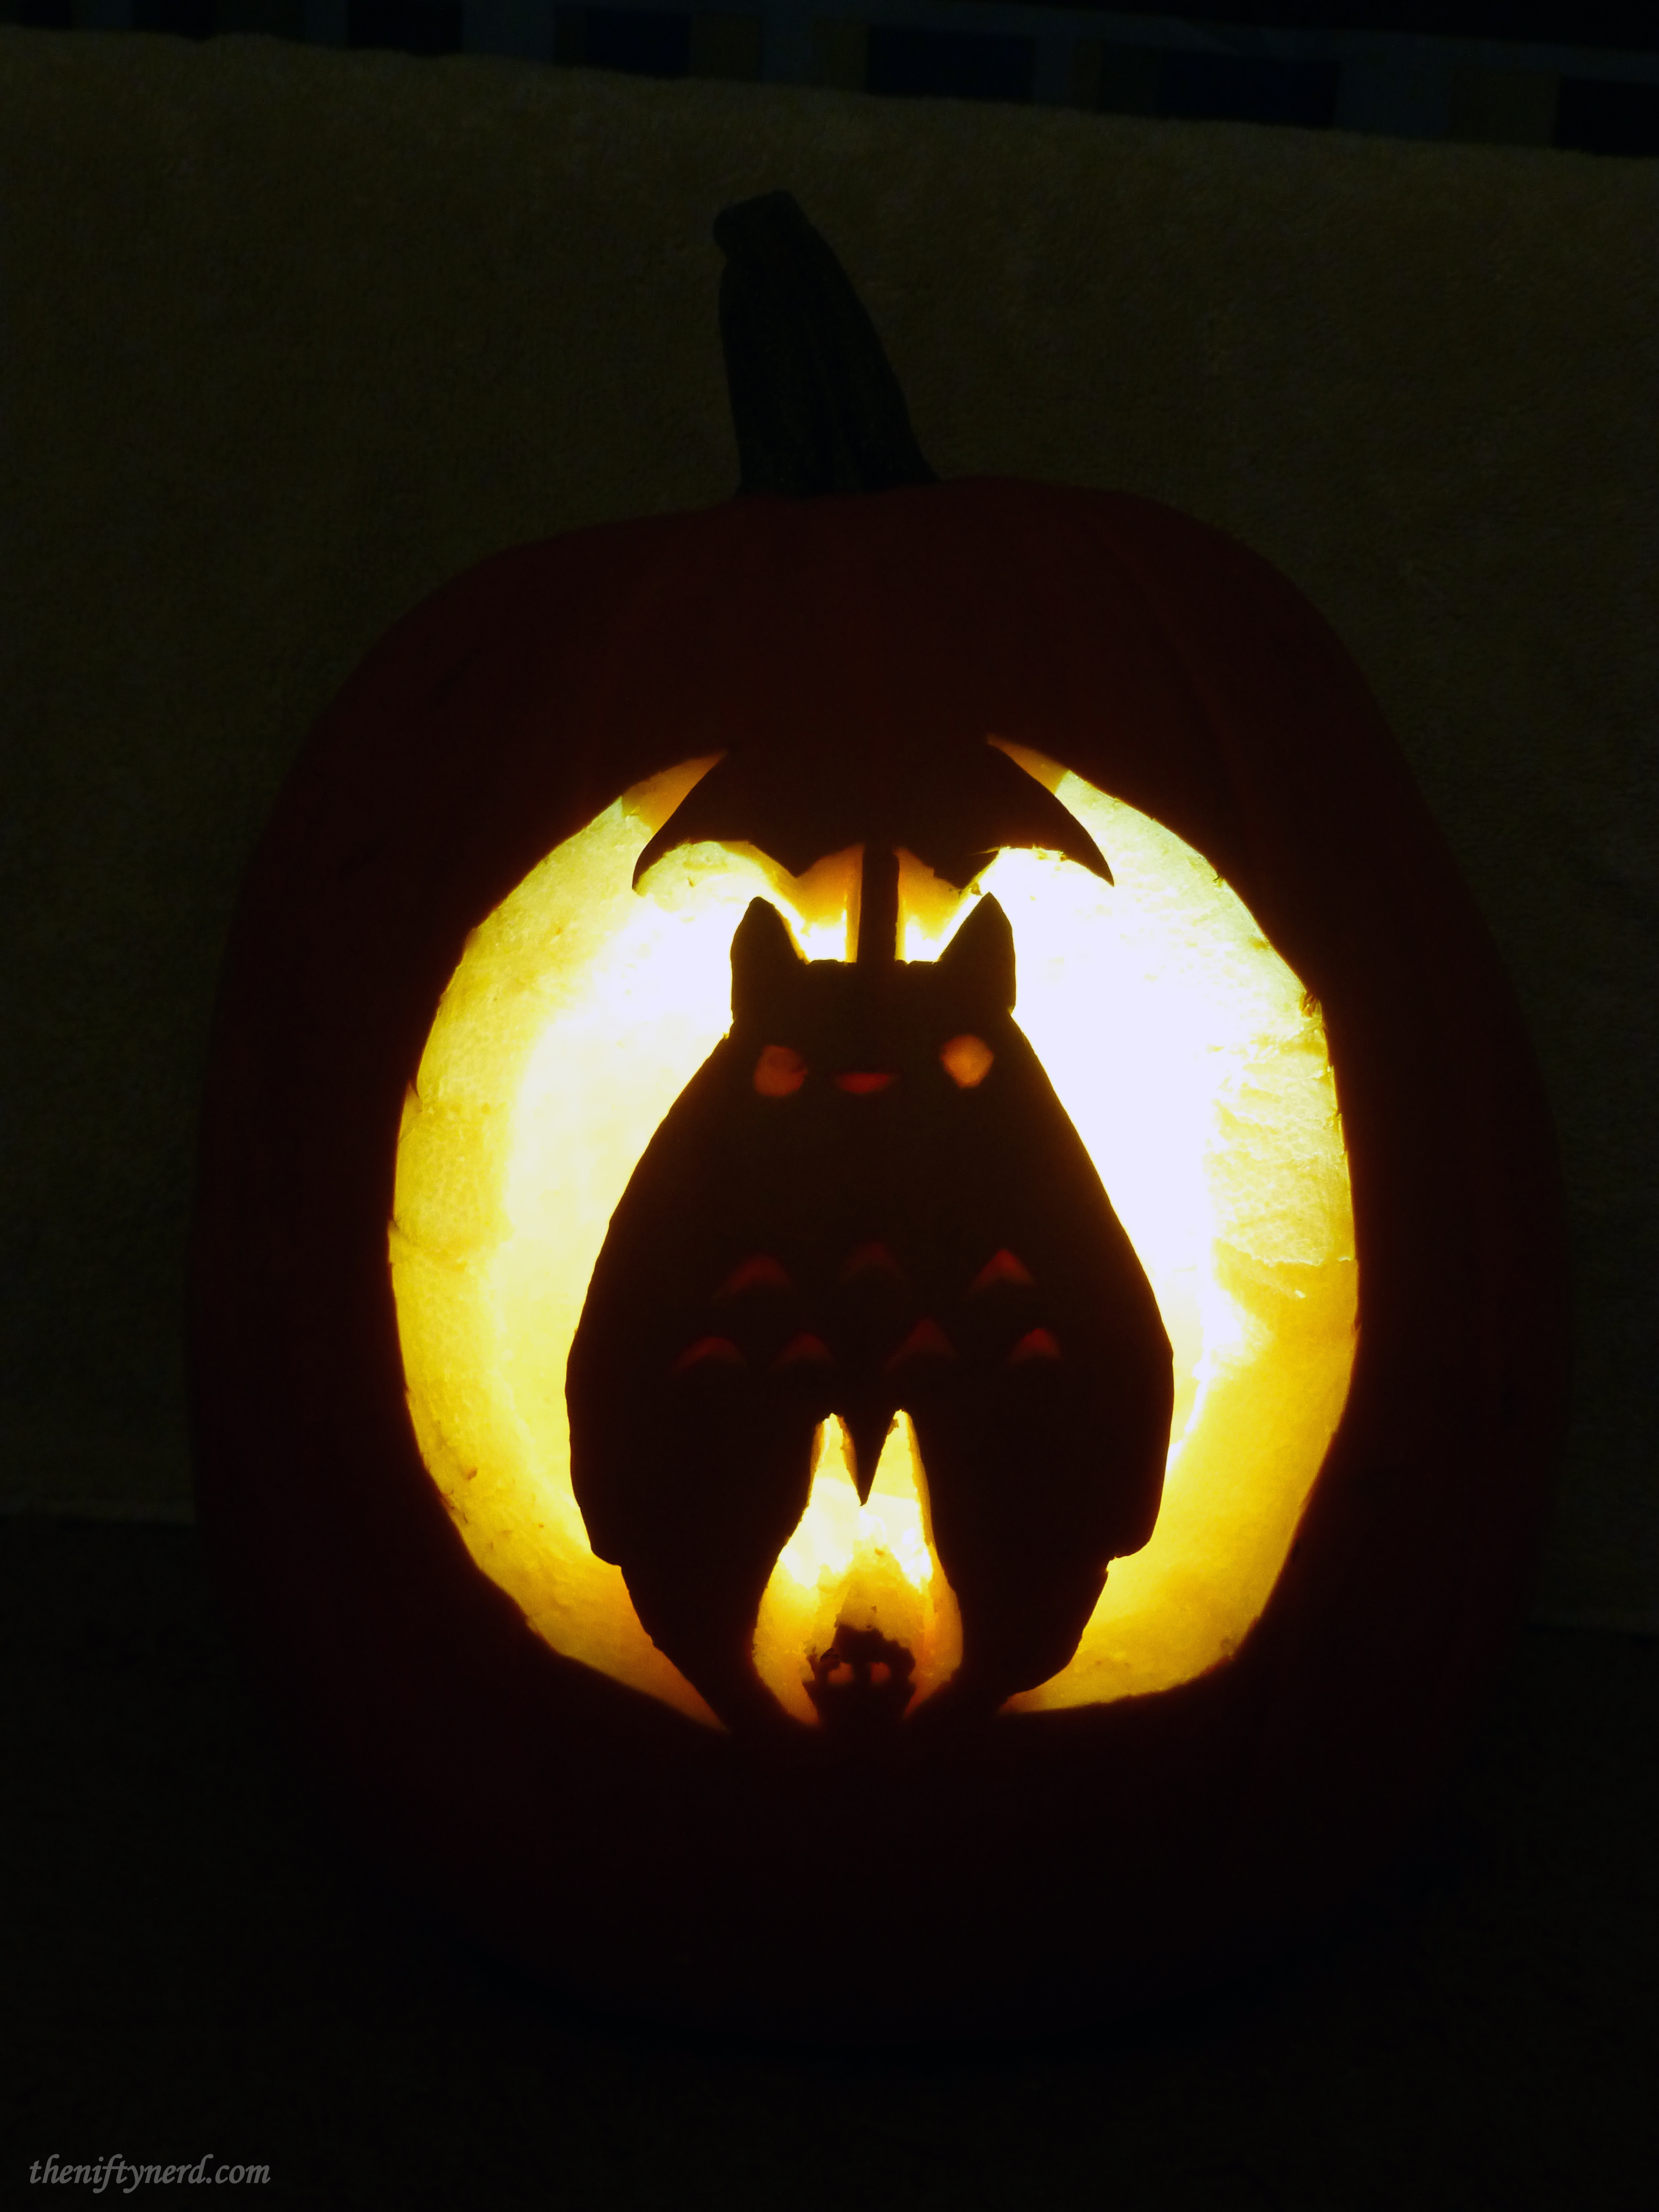
UPDATE: My Totoro template was a winner for the ThinkGeek ‘Great Geeky Pumpkin Template Contest of 2014!’
 |
 |
Recommended Posts

Showing 4 comments
I’m definitely going to pin this for the “Shadow and Flame” template. That’s a design that could even get the husband into pumpkin carving!
Great collection!
Beth at LWC Wonderland
So glad you like them Beth!
Would love to see photos of your guy’s pumpkin carvings 🙂
These are great! I definitely want to make a Totoro pumpkin.
Thank you Lori!
Totoro is one of my favorite works by Miyazaki…of course he has so many delightful stories it’s hard to choose just one!