


Homemade Mouse Pad Craft
Today’s craft project is super simple and inexpensive. I wanted a new mouse pad but I didn’t want to spend money on one, plus I wanted it to be something unique. I scrounged around the household and gathered up the supplies I needed to make my very own custom mouse pad. Check it out!


Supplies
- Geeky fabric with pattern of choice
- Piece of cardboard or foam board
- Hot glue
- Spray glue (optional)
- Non–slip mat (optional)
Directions
1. Cut your piece cardboard or foam board to your desired mouse pad size. I made mine 8×10 inches.
2. (Optional) If you picked a stretchier fabric or would just prefer to have your fabric a little more secure then you may want to glue the fabric to the top side of your cardboard. I would recommend a spray adhesive to ensure the fabric lies flat and smooth.
3. Use hot glue to secure the 2 side flaps to the back of your cardboard. Be sure to pull your fabric tight and snug around the cardboard. You may wish to use a scrap piece of cardboard to push and flatten the fabric into the hot glue since it will be hot.


4. To glue the remaining 2 flaps, I’d recommend folding them in like you’re wrapping a present to ensure clean, crisp corners. Tac the folds with small drops of hot glue, then fold the flaps and glue them to the back of the cardboard; once again ensuring the fabric is pulled tight.
5. (Optional) If you’re fabric or desk surface is slippery I would recommend cutting and gluing a non-slip mat to the underside of the mouse pad. Mine was not slippery, but if yours is, a roll of non-slip mat material can be found at the dollar store for $1. This is also a great option if you want to create a more clean and finished looked to the underside of your mouse pad.

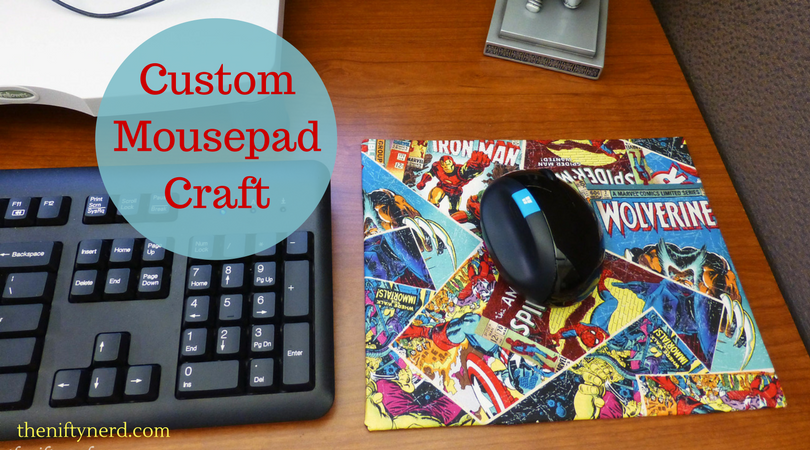
Well, what do you think?
My mouse pad cost me nothing but scrap materials I had lying around the house and 5-10 minutes of construction time. My work cubicle is that much more colorful now! 🙂

This is such a great idea – I love it!!!
Thanks Danielle!
It’s easy than I thought! Thank you for sharing the tutorial! Gonna try it with the Pokemon fabric I bought for the pillow cover last time.